DOCUMENTATION OF PROCESSES
In this segment I plan to illustrate the process by unpicking its parts for the reader to understand the steps behind the final images. One important aspect to take into consideration is the fact that the final images displayed shows the desired effect, however, neither the final image or display design have been fully completed yet. The final print should not also be highly figurative but work as an accurate mold of a previous object. But let’s start from the beginning.
I recognize in retrospective two simultaneous processes that were happening. The first one was a very free exploration of materials and light polarization which started by the end of unit one. I therefore attach some time lapses of videos I recorded with the intent of understanding the limits and possibilities this media could offer. It was important for me to stick to materiality, so a projection or a video archive didn’t work as a final piece for me but worked for the documentation of material exploration.
The second continuous process was image making –or image taking–. This aspect consisted in the creation or production of multiple photographs, paintings and scans that I tend to understand or signify afterwards. Because image making is more natural to me, I tend to question it less and therefore it can lead to an accumulation I then have to filter and understand thoroughly afterwards. This way of working, demands that I constantly revisit it to decode or understand previous pieces that can be caught in automatization.
When I was introduced to the software CURA, I realized the formal aspect of how the picture was taken was relevant to its later conversion to a model. Either for the darker or lighter parts to go higher or lower in the model, contrast and brightness managing was crucial for the later conversion of the image.
The technical demands for the creation of the pieces are embedded in the process. Once there was a conversion from the 2D to 3D prints, I could thermo-vacuum it as well as laser cut prints, for example. So, the goal was to maximize the photo-elastic stress to represent the shades, contrasts and distance. In that sense, colour transformation to monochrome is also important to consider.
Printing in the form of vacuuming can lead to better results in comparison to the filament used for the 3D print. Especially due to the fact that to achieve a perfectly transparent print the best option is to do an acrylic print, which is expensive and has too many layers. Transparent filament is quite opaque, so vacuuming the model became a good solution and allowed me to minimize the amount of final material to polarize.
Inspired on the idea of the isochromacy in transparency and perception shifts, I needed to run tests in order to achieve the right thickness, height and detail in the final piece. How much quality can I get polarizing transparent filament in comparison to a vacuumed plastic mold? The result was clear as filament wasn’t easily polarized.
The process raised questions, so I intended to find out how much depth I could get laser cutting wood versus vacuuming a good 3D model.
I started asking myself, how much height I could get from a 3D print to then translate into molecular stress? This is where pinpointing the differences between 2D and 3D image making became handy.
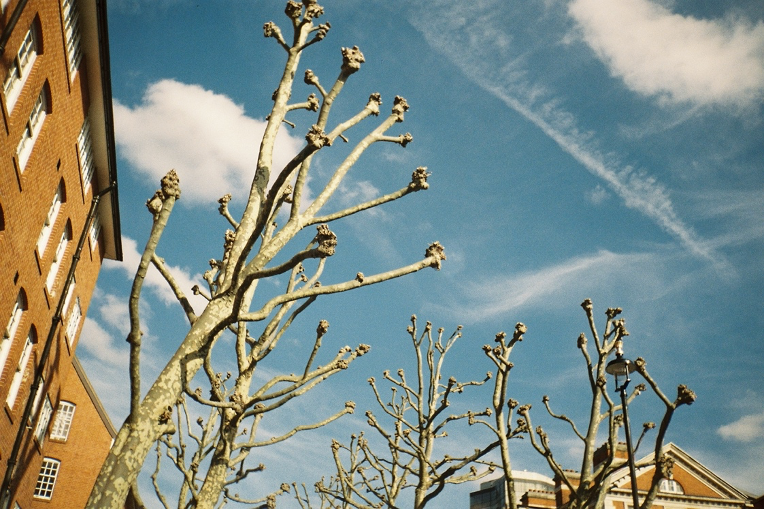
I tend to pick, therefore, images with clear subjects taken in 35mm to play with the grain in achieving the final result. Images tend to Include nature in urban surroundings in figura-fondo to identify a clear subject. I believed the process was already too complex to include an abstract image. The image already shifts as the subject moves, so the piece becomes interactive within its physical properties.

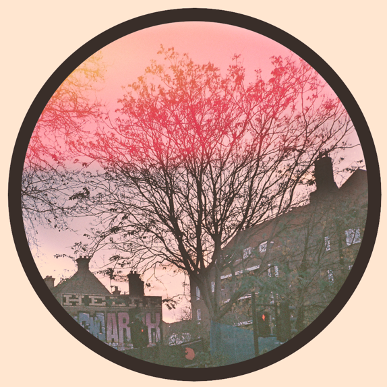
Playing with natural borders seemed interesting. Take this picture for instance. Each version creates a different model with unique characteristics that respond to the specific version of the imported document. The slightly coloured background allowed me to build some height for the base to rest on. I found it was also better when the curves were more constant so high spikes didn’t damage the print by over stretching the melted filament. If the blacks were too dark, I would not get any spikes but a rather flat surface that became less interesting when vacuumed.
Another interest aspect I encountered while playing with modeling, was the idea of being unable to read the image from a certain angle. The idea of the image existing but not noticeable until seen from above. The act of having to lean out in a specific angle to understand what is happening in the same way you have to rotate the polarizing filter to access another way of seeing, comprehending or perceiving.
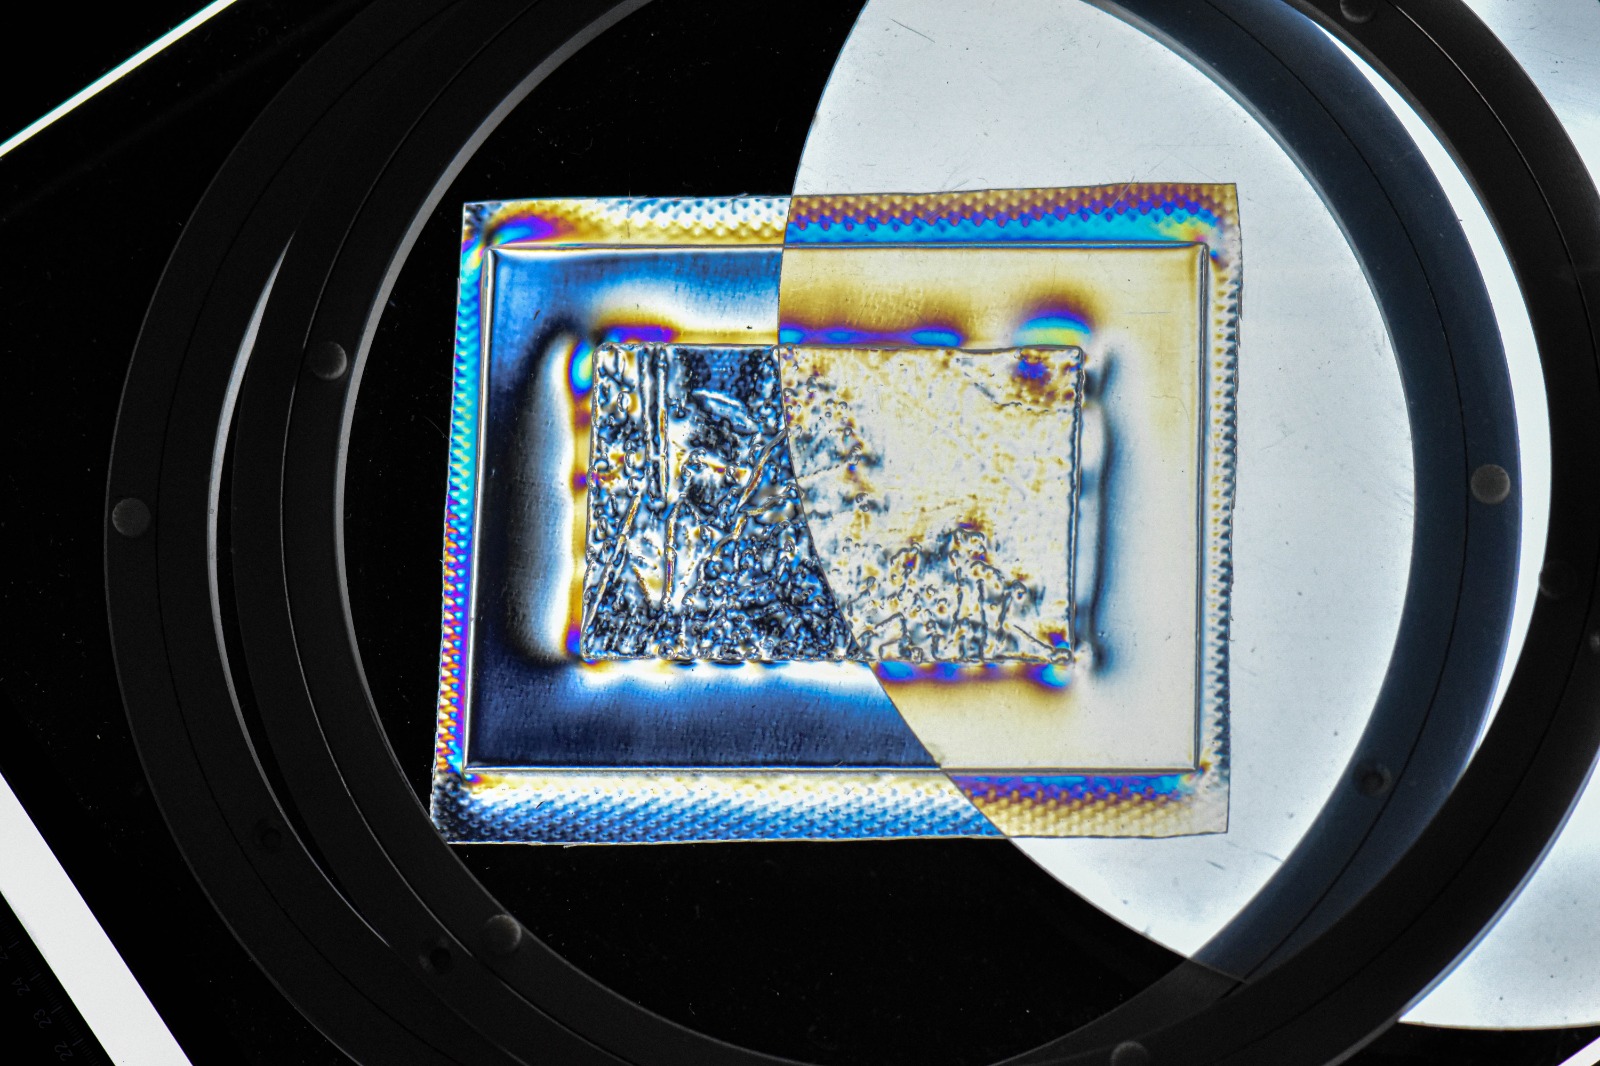
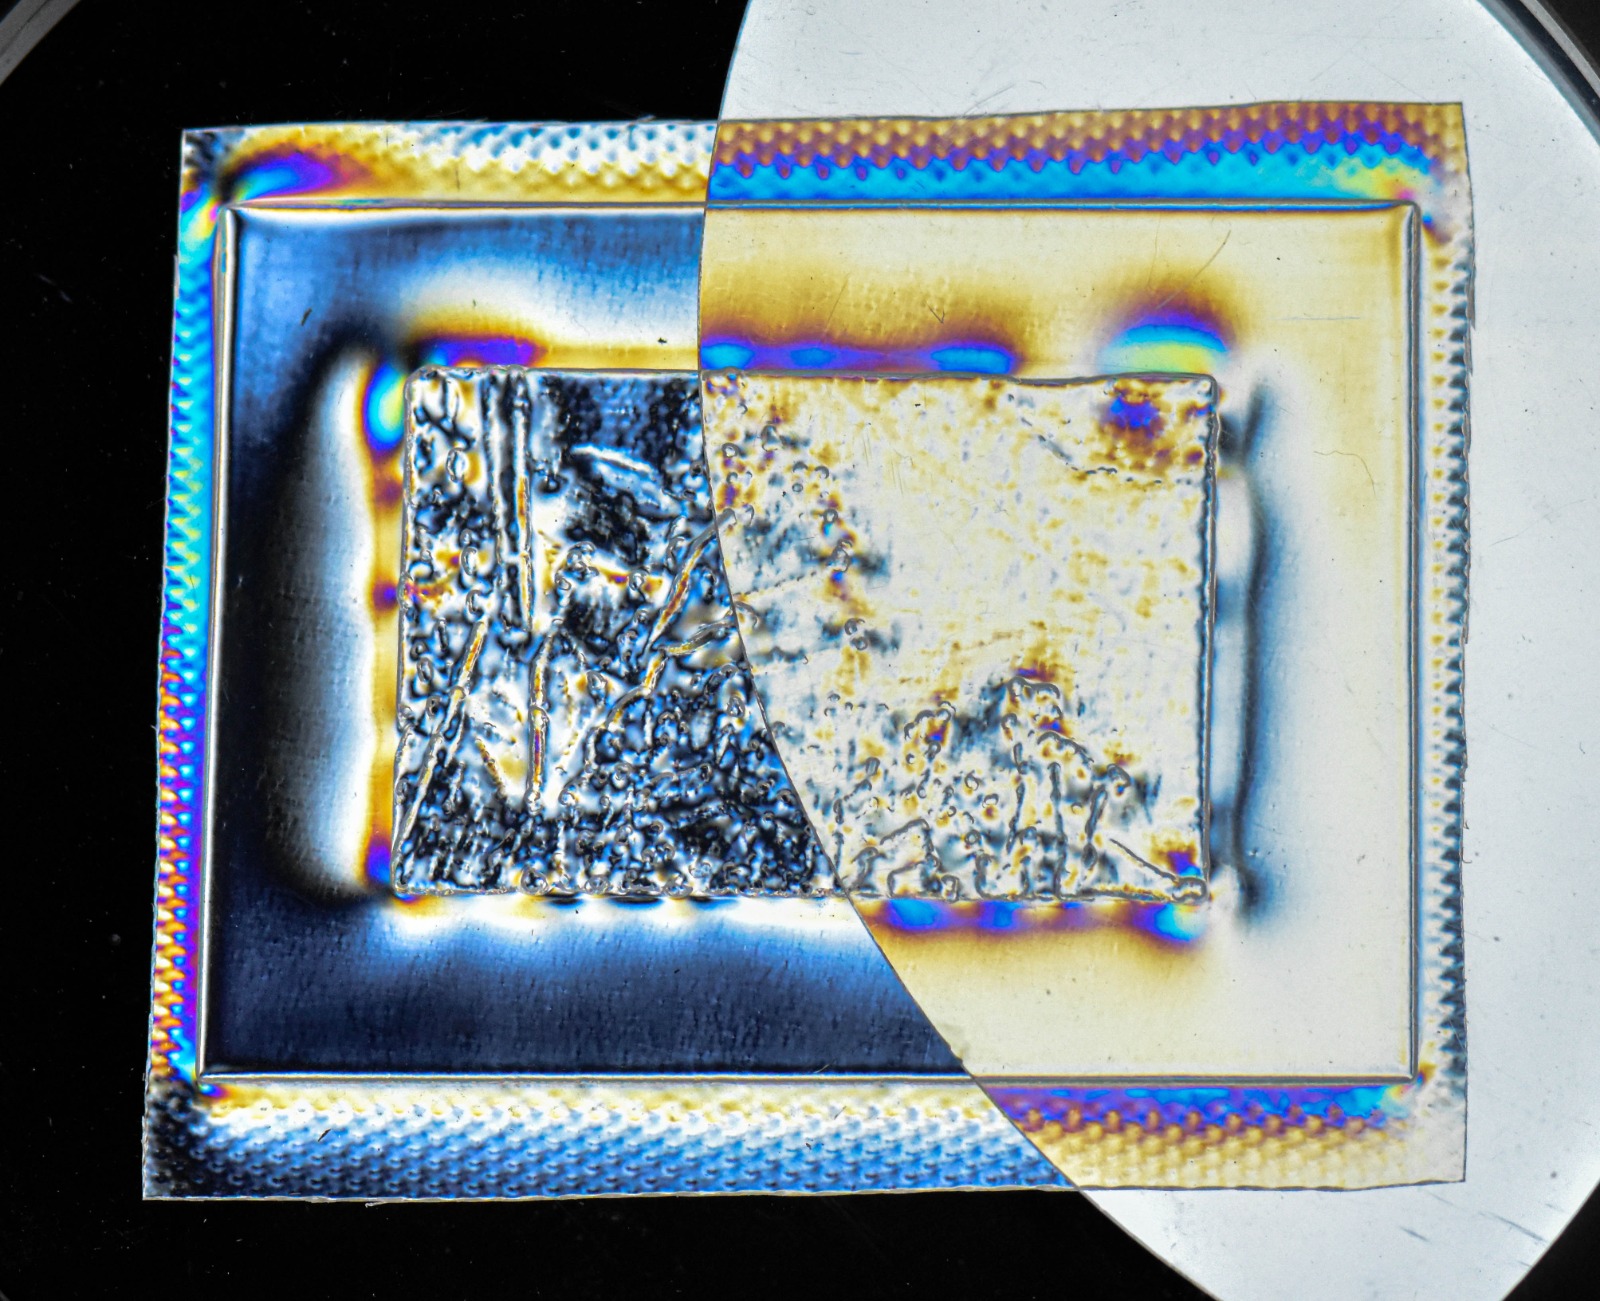
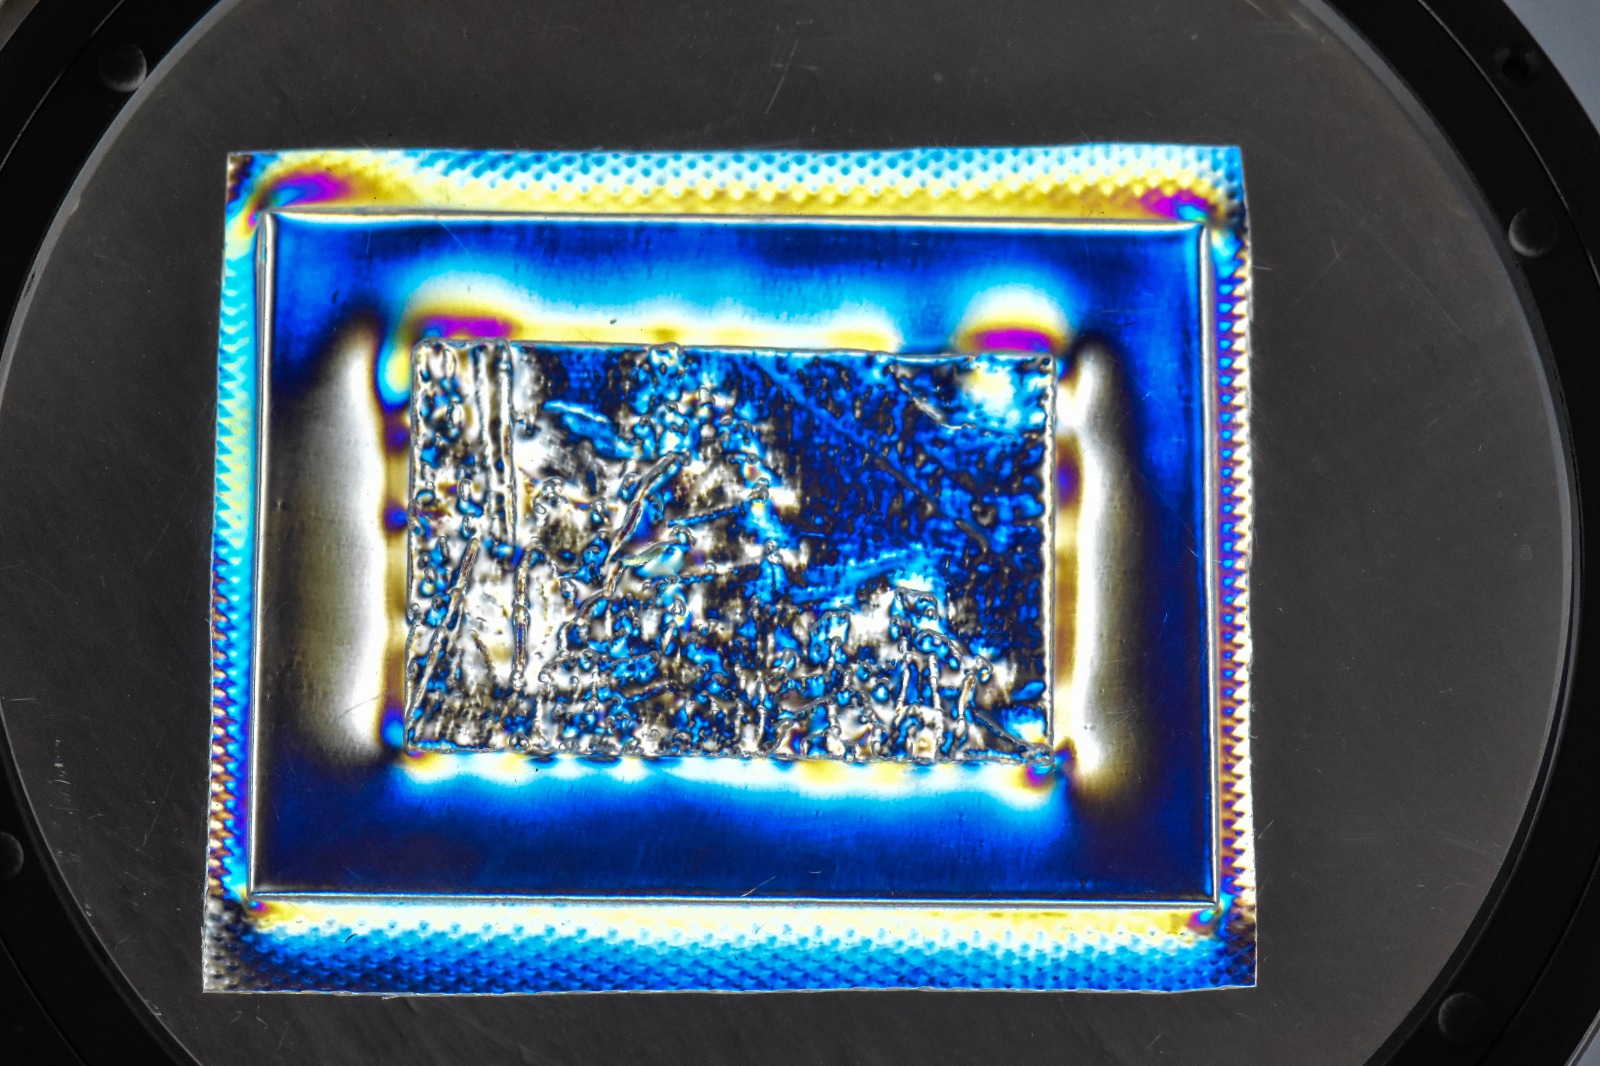
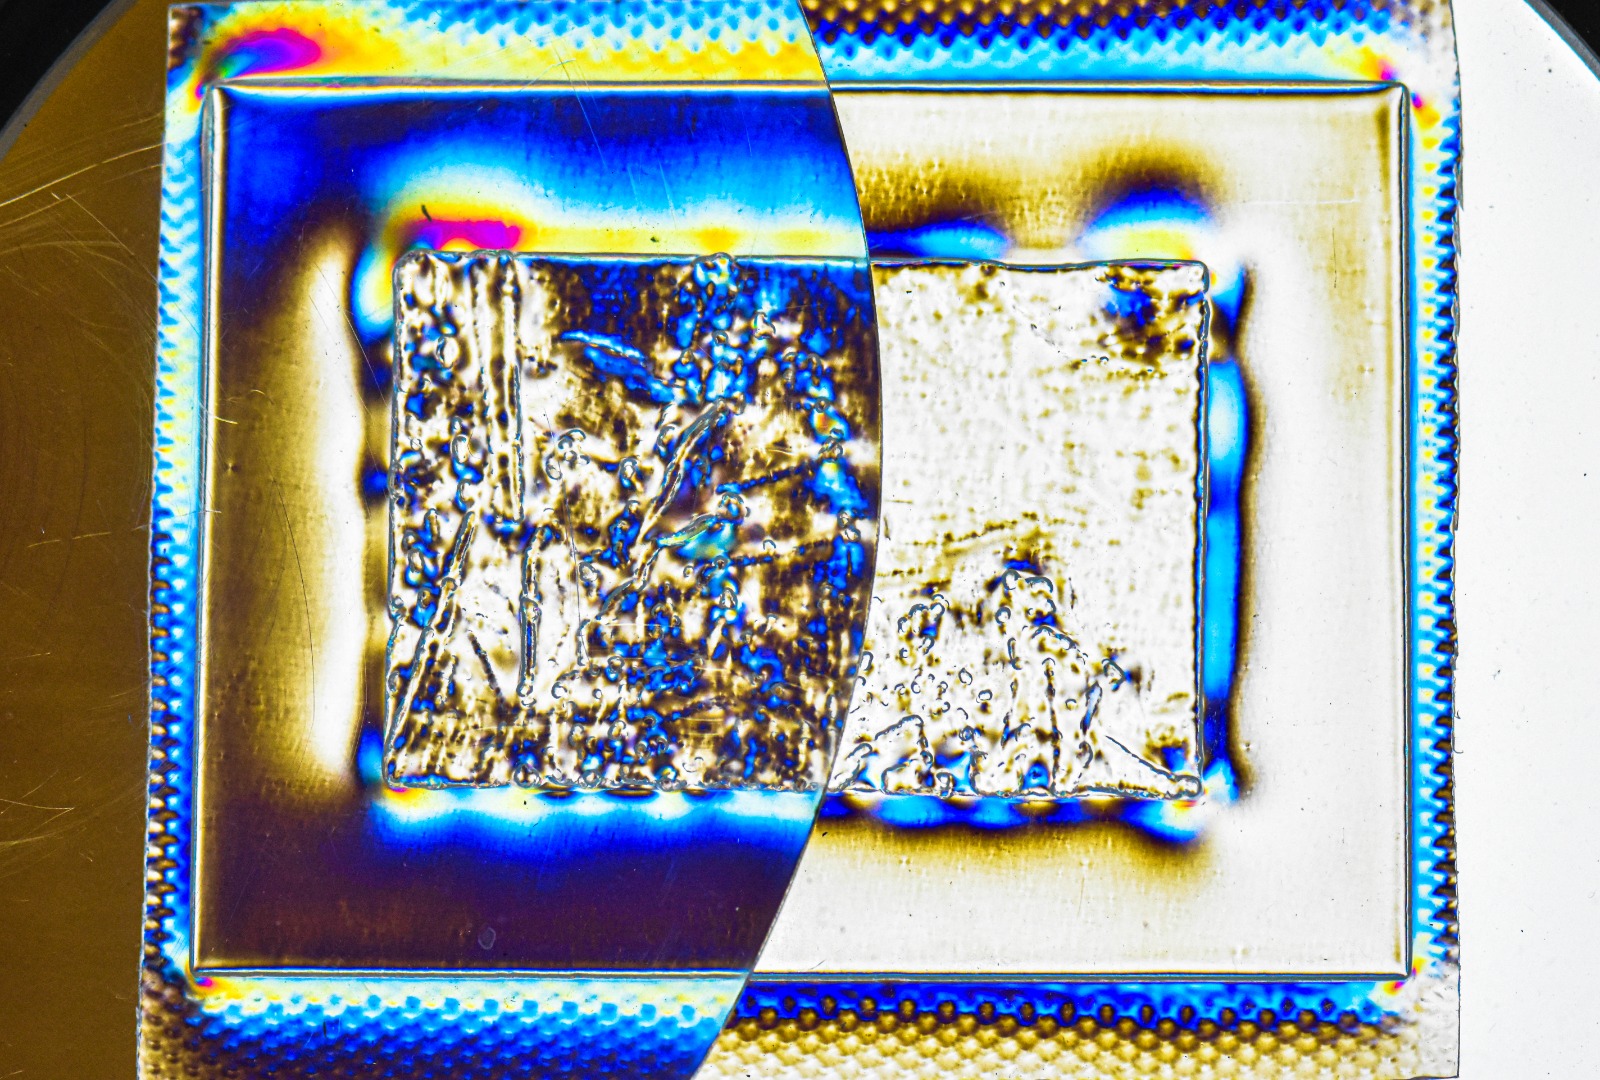
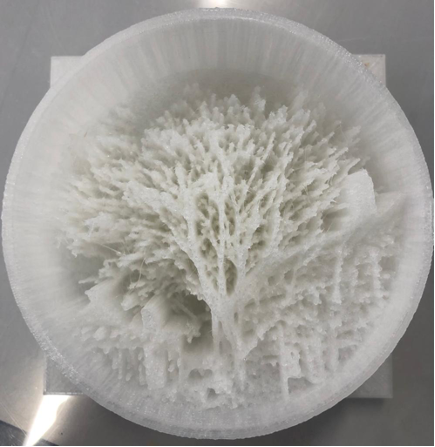
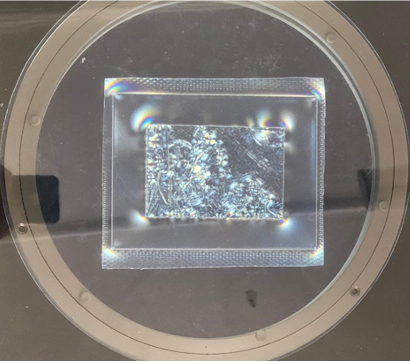
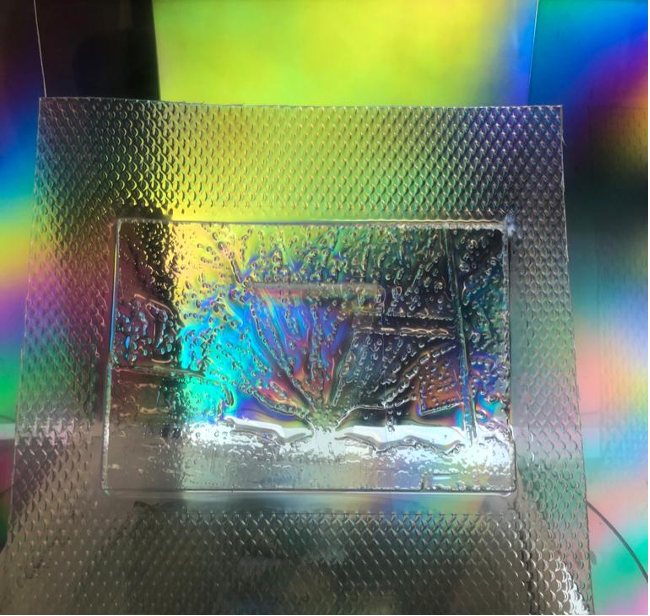
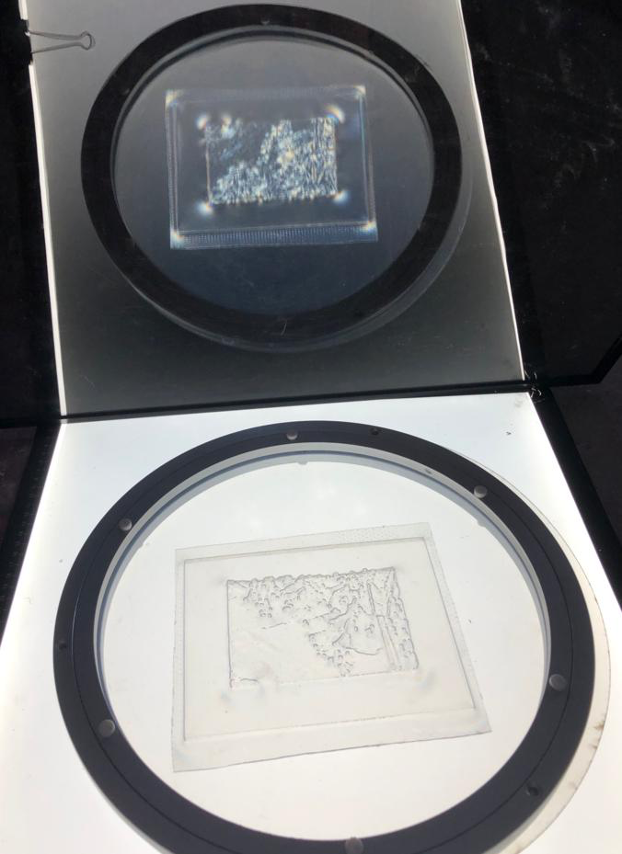
The circle around this model generates the idea of suspense. It also hints about the angle in which the image is more distinguishable. The following images show the object after being printed with transparent filament. I wasn’t able to polarize this result. The second one was the vacuumed version of the same object after drilling some small holes at the bottom to increase the pressure.
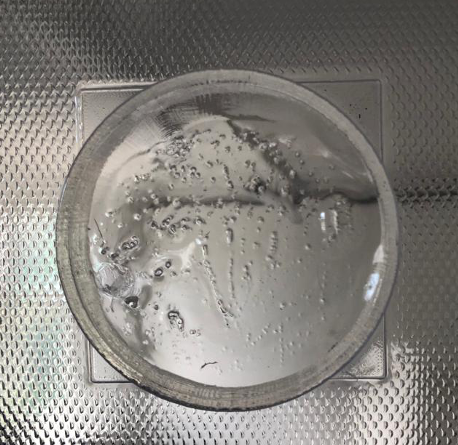
Once the image was printed and vacuumed, it was clear the border was too high and I had to lower it. The first tests with small prints without borders worked better. If the spikes are too high, they will stick the melting plastic surface when exposed to the vacuuming process. As you can see, flare in the original image generates a stroke of light that lowers the top area of the tree. Those changes in the aspects by translation between different media, I find particularly interesting.
I am still not sure about the final image I will print for the summer show; however, I will be trying different ideas so I have options to choose.
In this next part I will be discussing some ideas regarding the display of the images. I find important to share the two main results you can get when adding a polarizing filter vertically and horizontally. These two ways of positioning the filters are the principle with which I started exploring. This is why the idea of a cube seemed interesting. The possibility to rotate not the filters, but a structure that contained them. The movement would, in theory, alter our object’s perception by moving either the object or our relation to it in space. The idea to add an extra filter to walk around was also contemplated.
The cube was designed to have three polarizers from the sides in one direction and a main perspective to put the object in that direction. The roof of the cube had the polarizer in the same direction than the main perspective to create an invisible area to look at the object and three sides that darkened when polarized.
The model worked; however, it lacked the ability to focus on the object since the whole cube got polarized as well. The structure distracted from the piece. Also, needing an extra filter to be able to watch it was not as convenient as the circular model where I could position the layers in the desired order to then be moved separately by the viewer.
Maybe what I like about that model is the display of the plinth, since it creates a space to walk around and see the object. This space, however, was also reduces by adding an extra single perspective to look the object. Another important display aspect is the fact that glasses are not necessary anymore. Having to use a device, I think, generated previous expectations that don’t occur in a spontaneous display, where the subject is free to explore the piece with the naked eye.
After discarding the polarizing glasses, I continued to use them in a more spontaneous manner to do day walks and encounter objects that changed. I realized the subtle light change that happened when I did a slight angle rotation with mi neck, from left to right. The importance of the light orientation change reminded me the importance of having a rotating system.
One of the main questions to answer was how to build the design of the piece in order to enhance the perceptual phenomenon and captivate the receptor. When I realized how the rotating system benefitted me by showing not only two perspectives but all the ones in between, I found out that a single piece of acetate could also help give the light an orientation. Being able to cover all different angles and then adding an acetate layer to polarize helps create an effect of duplication in the layering of colour possibilities.
This last display has the disadvantage of having a single layer, however the object is being polarized in the reflection of the acetate. This allows us to see the original object while watching it being polarized in its reflection. This display is very interesting; however, it doesn’t exploit all the colour possibilities, which I find relevant.
In the next month I plan to combine the best aspects of each display in order for the final piece to generate questions and maybe not be too obvious with the answers I provide. There is an interesting build up to the viewer’s realization of what is happening. I was suggested to include an acetate print of the original image that I could also polarize underneath; however, I find the mystification of plastic a way to symbolize how something so harmful for the environment, can open new doors to perception.
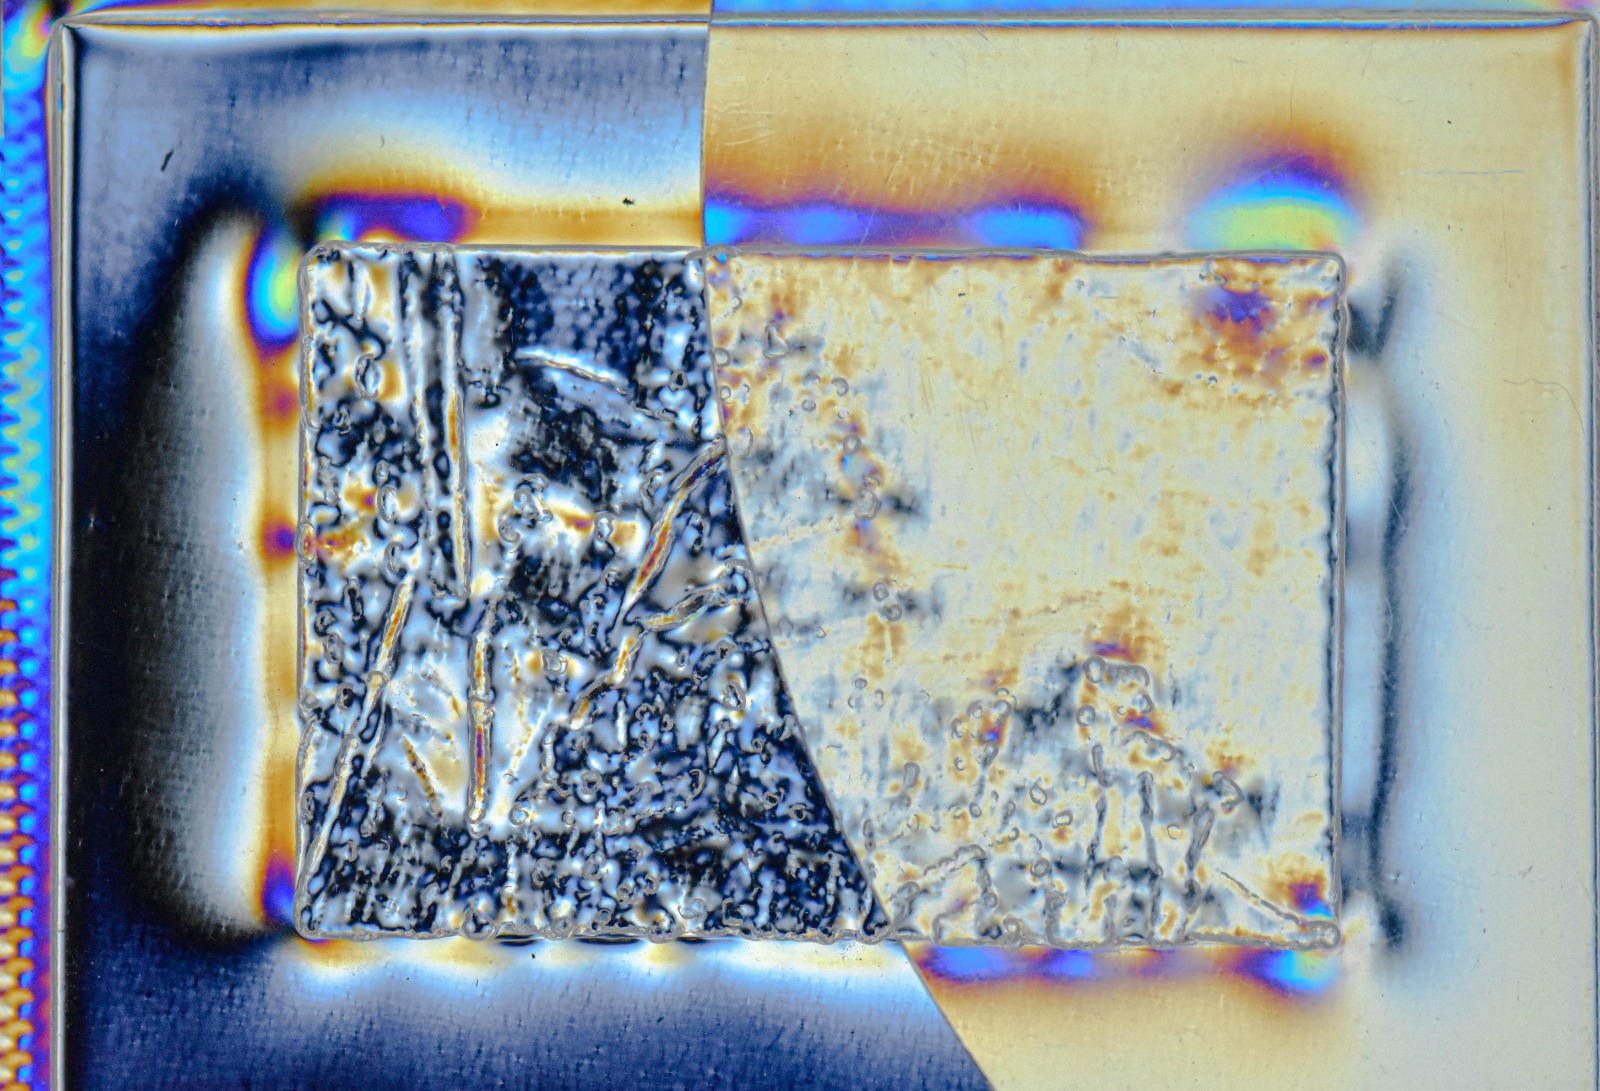
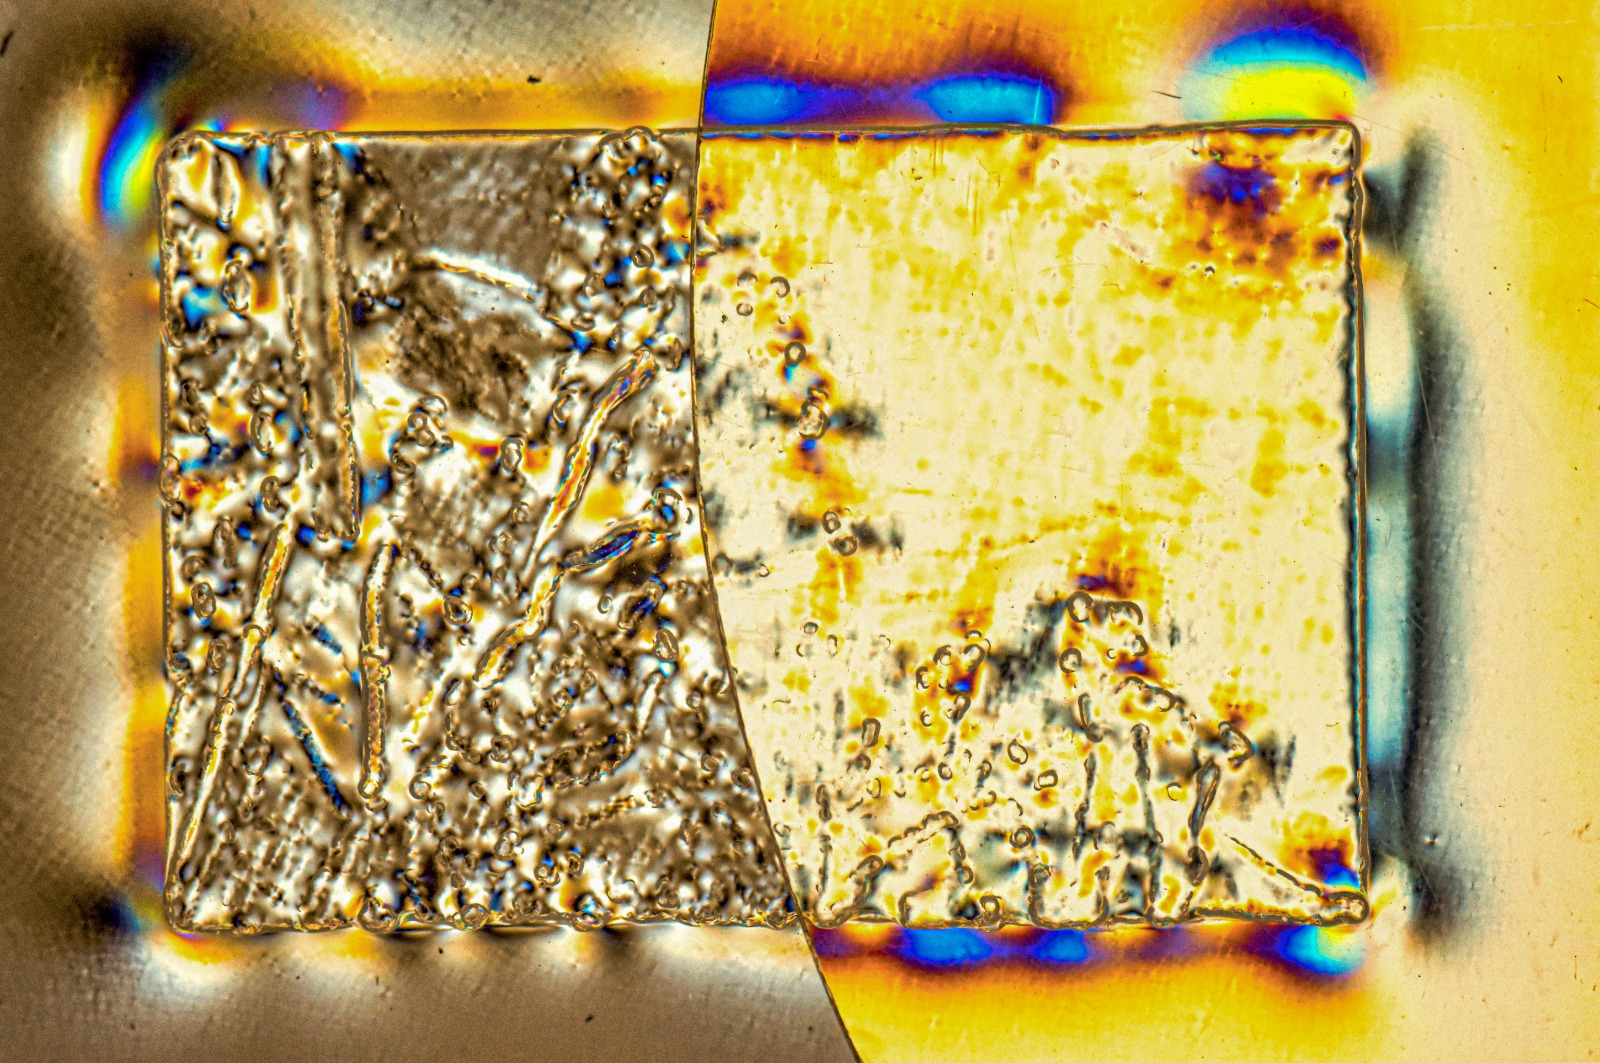
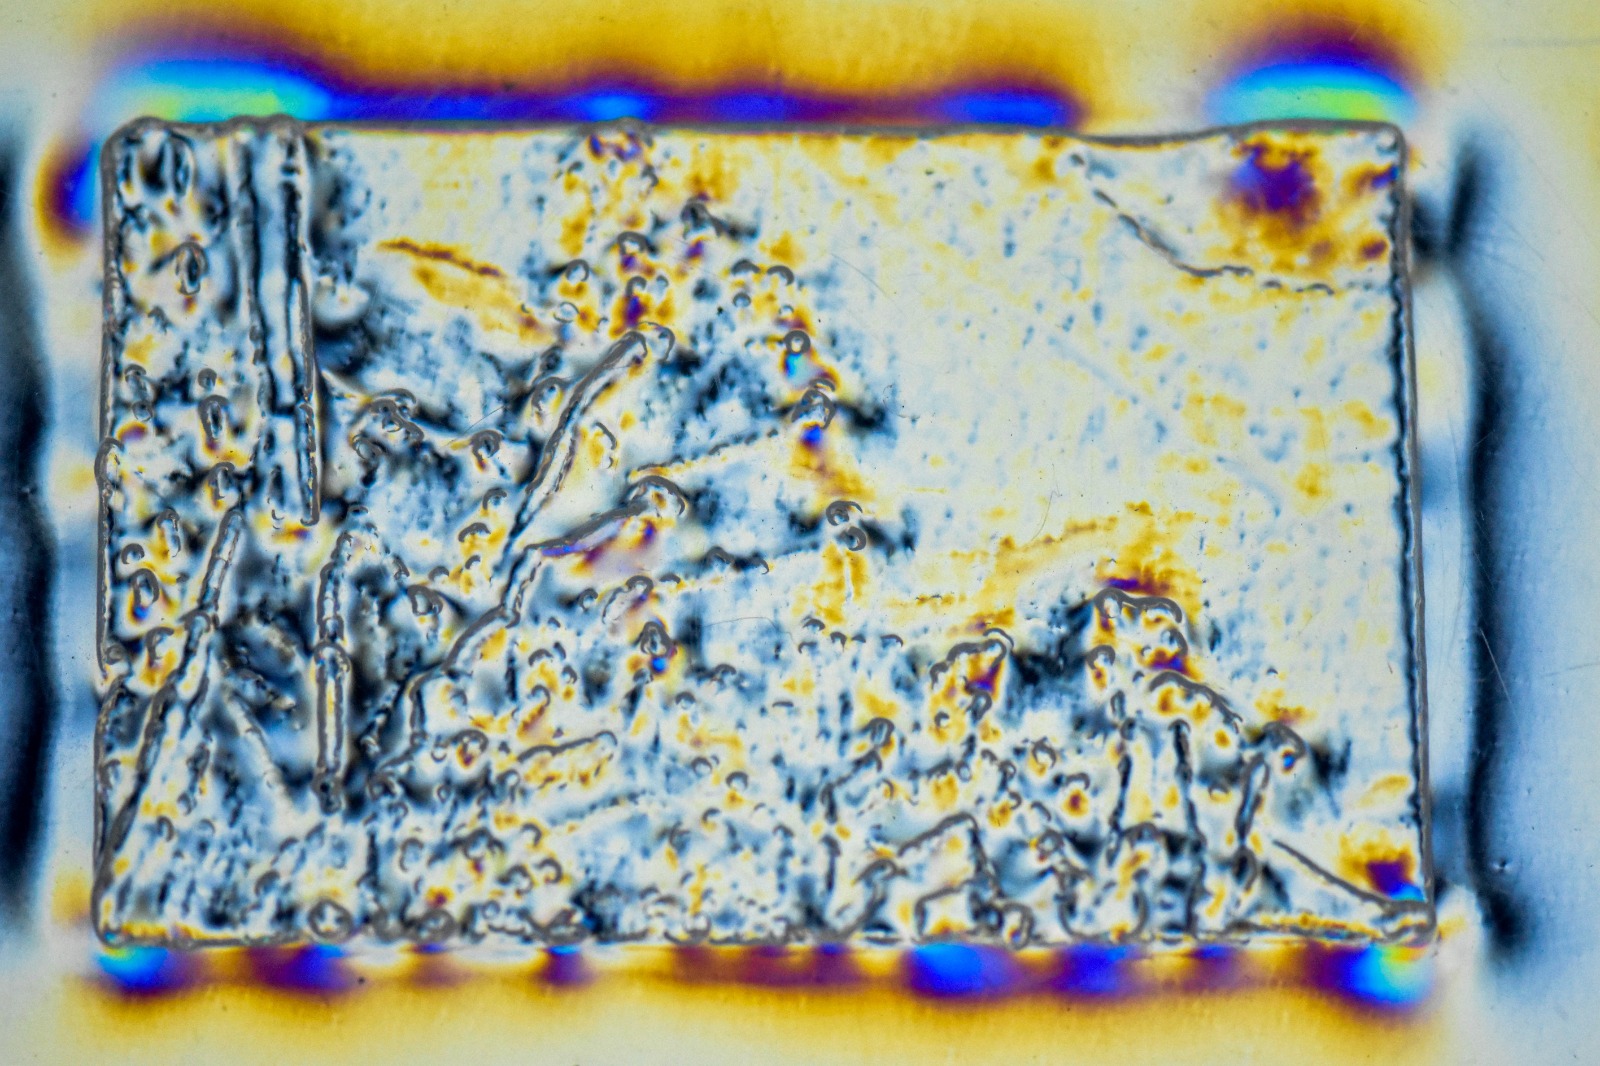
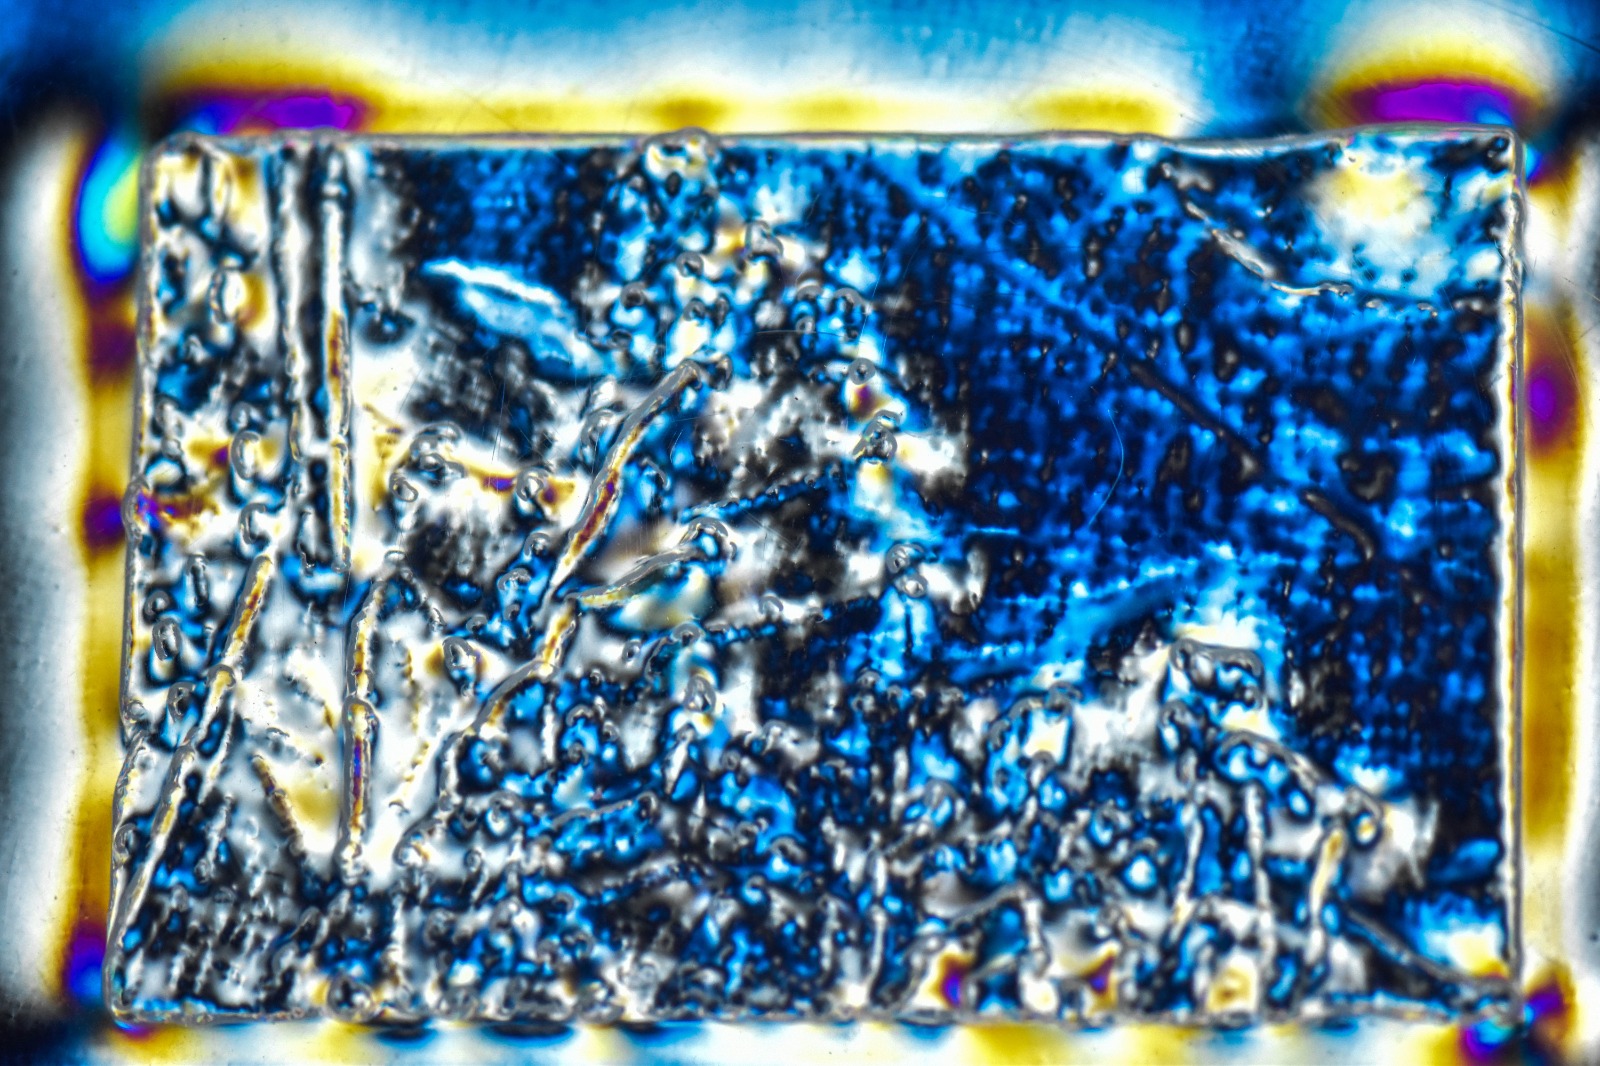
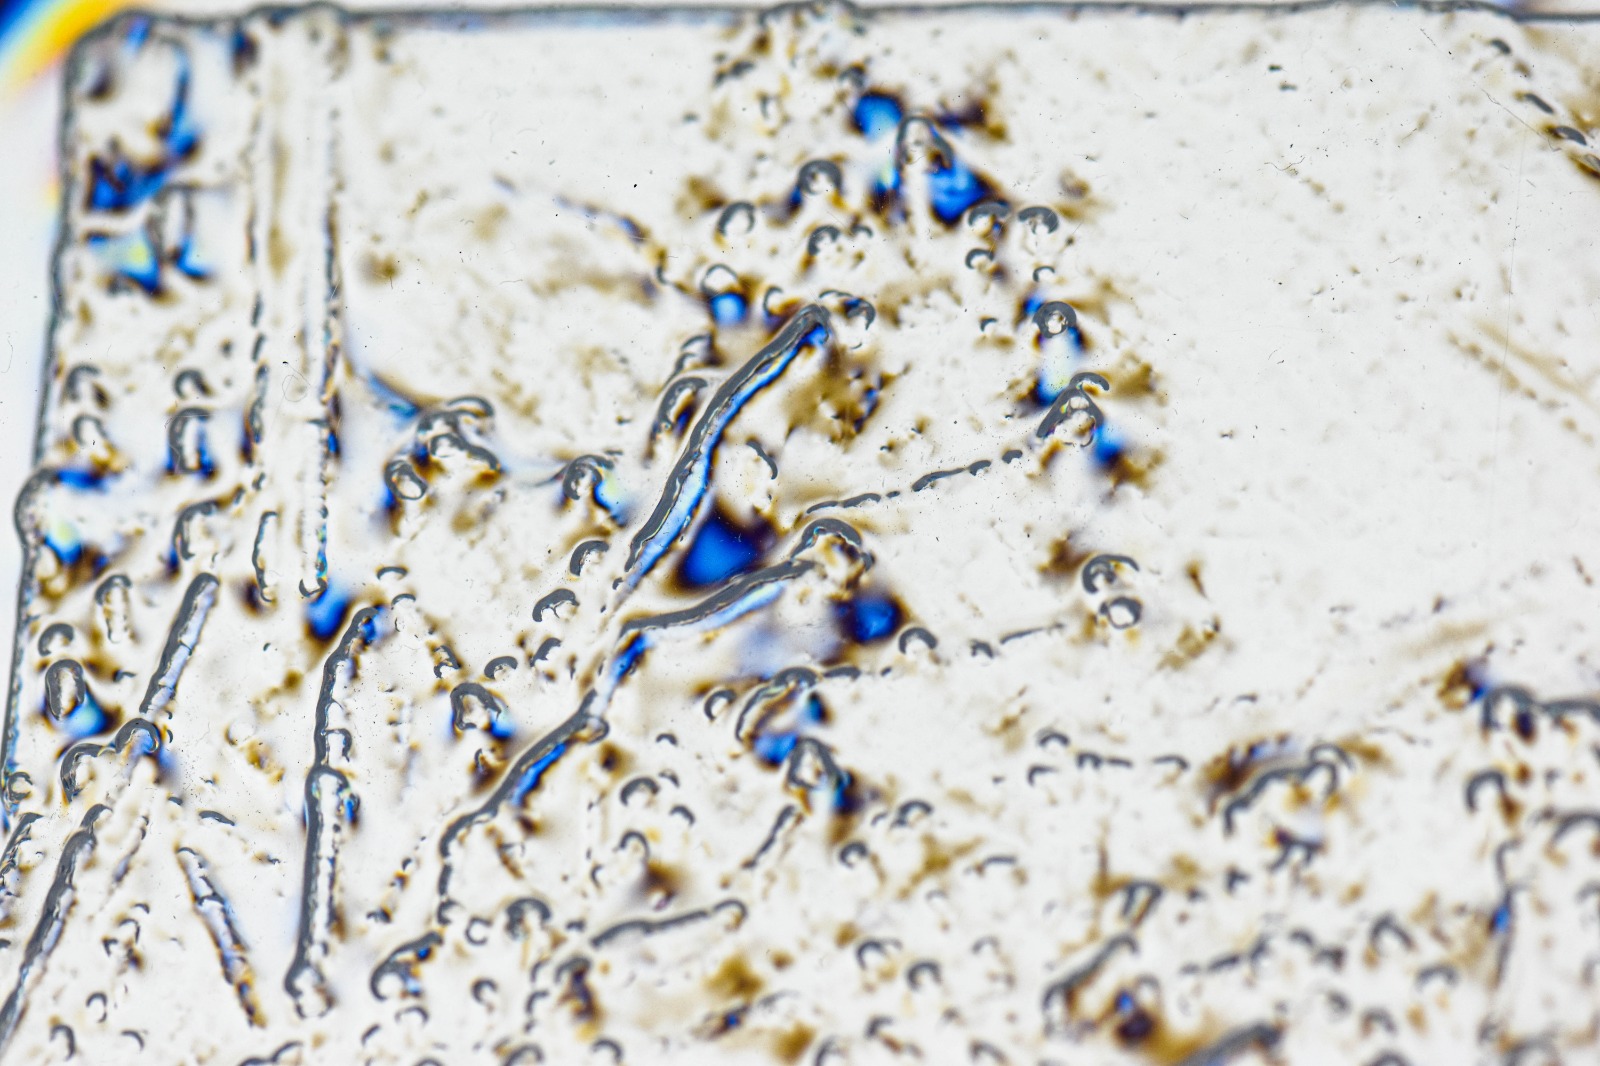
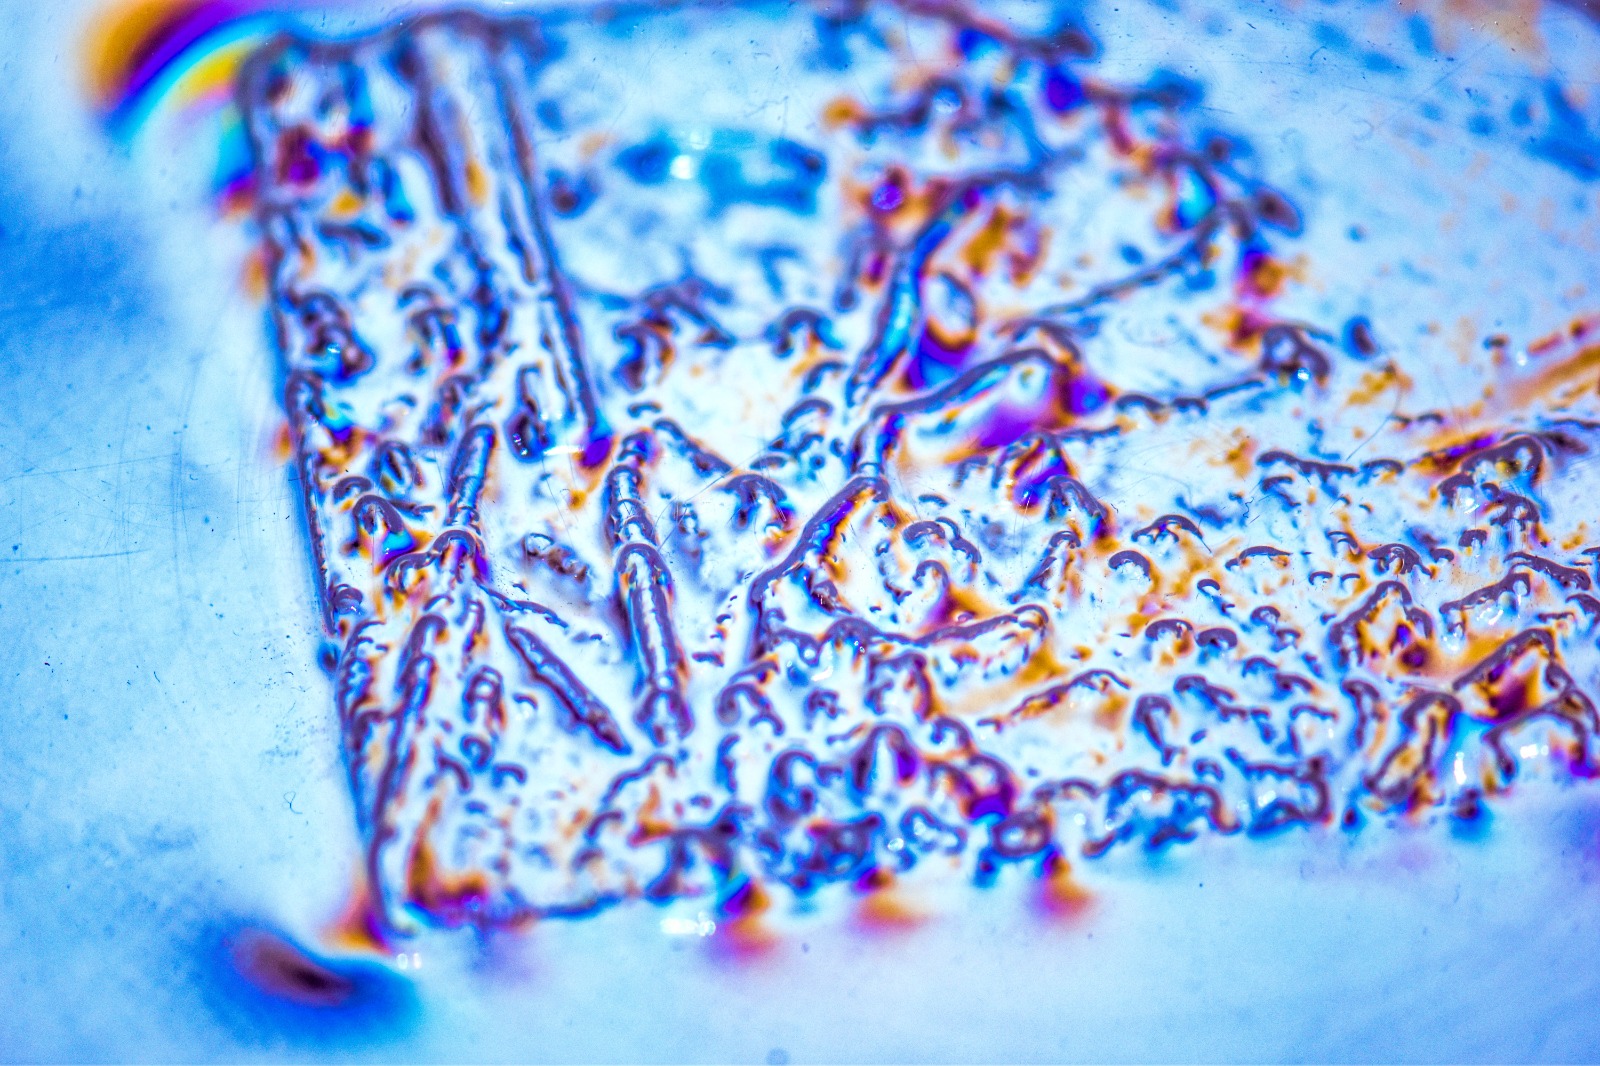
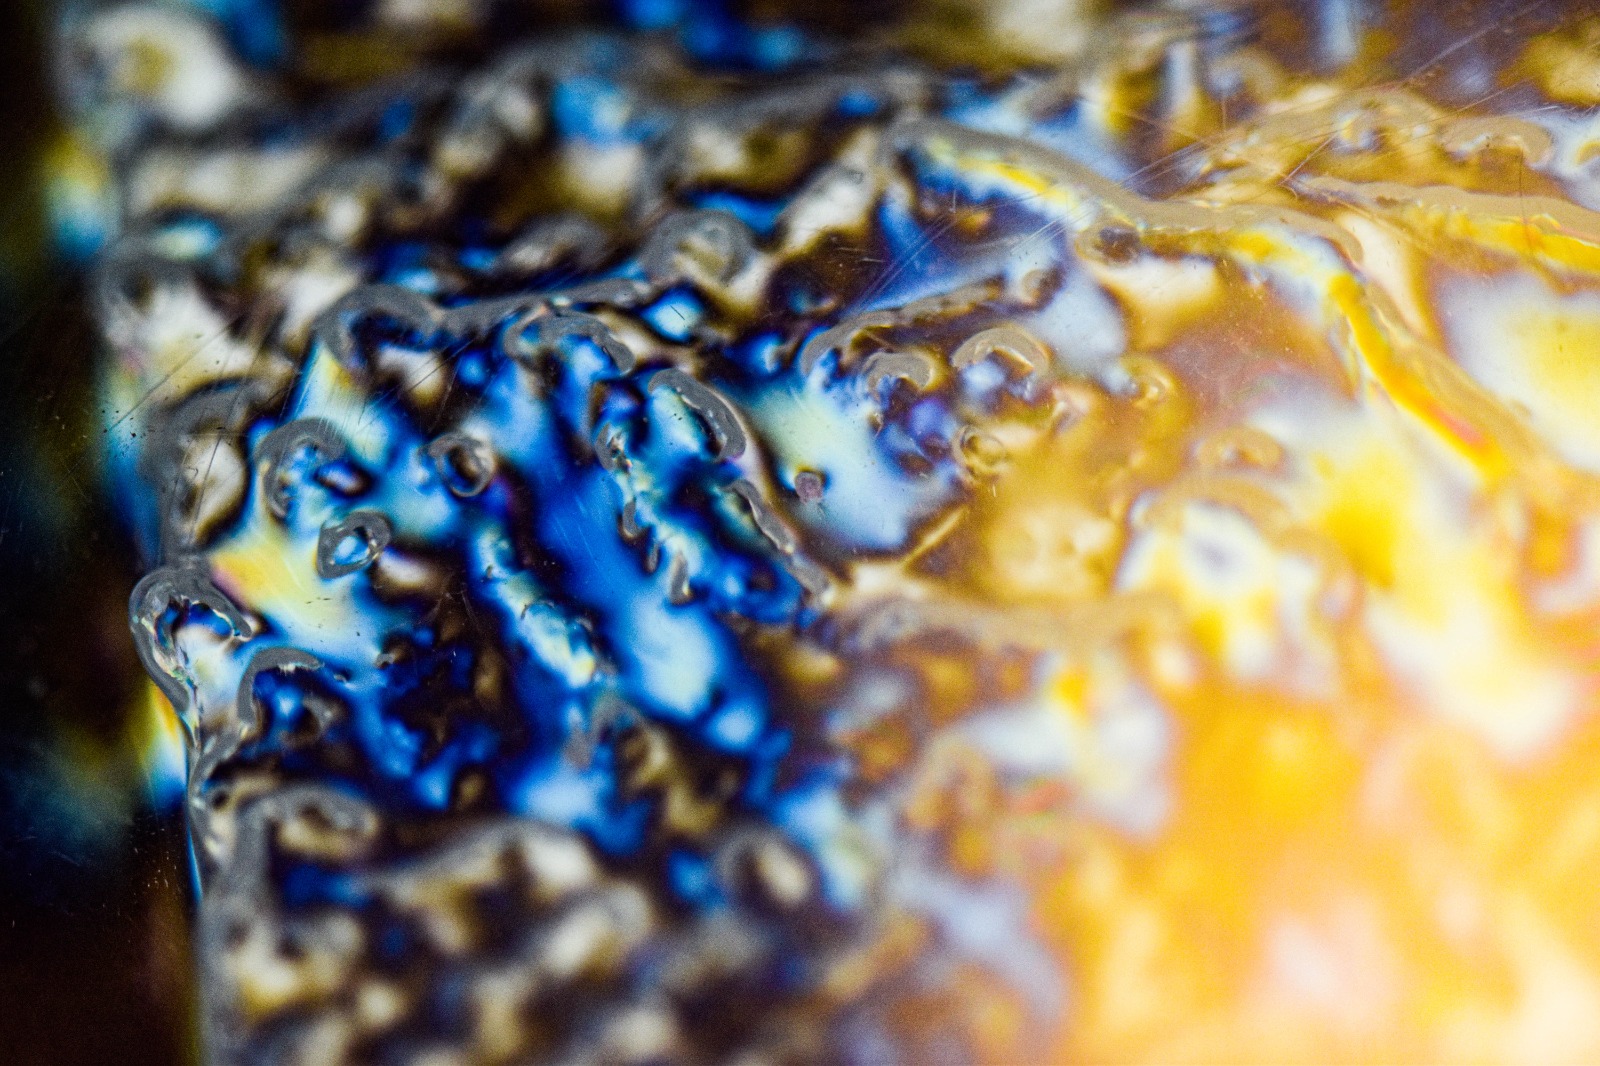
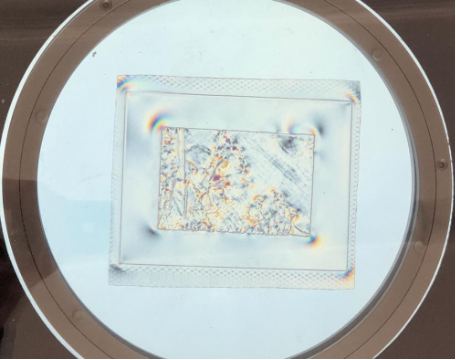
Here are some images of the piece documentation while polarized, using the first picture in this section: